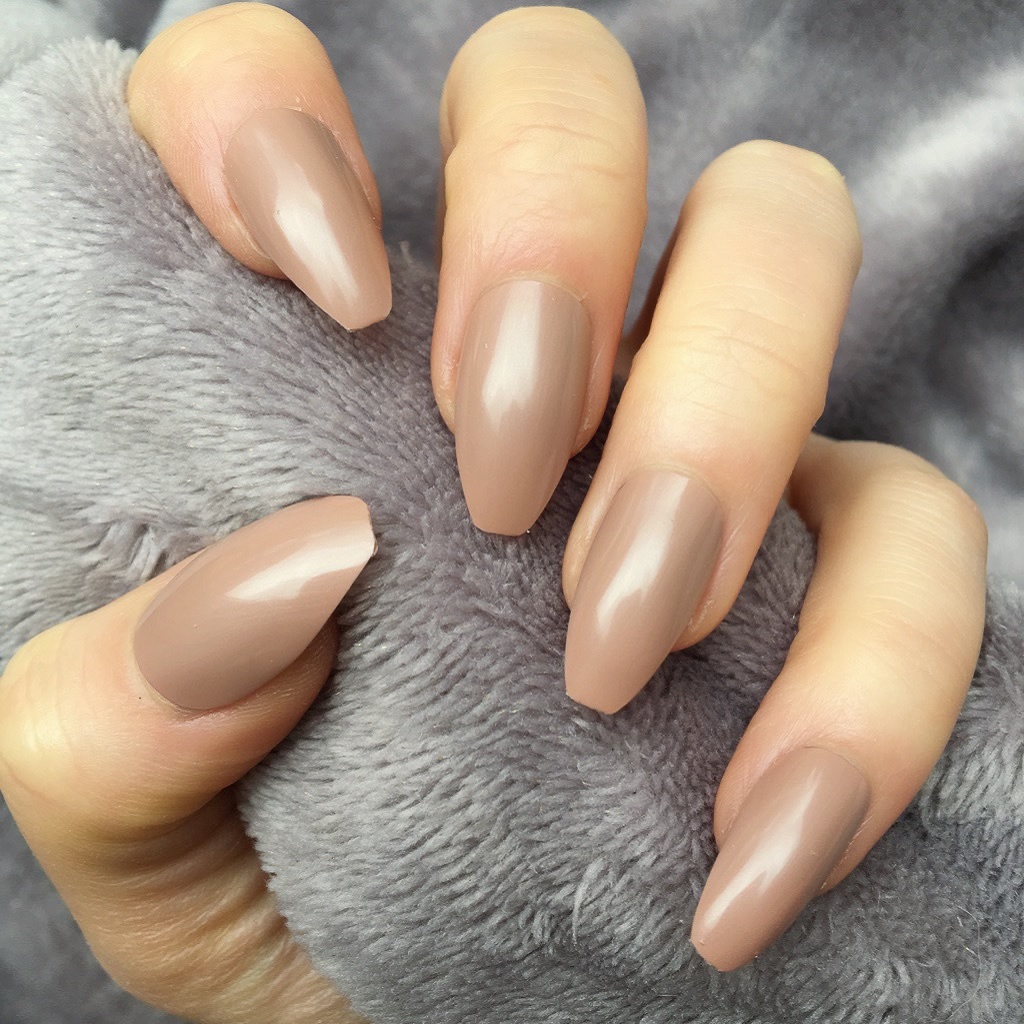
Talk of nail manicures, and you get various exciting procedures available at your disposal. Gel polish is one, and so is a dipping powder manicure. On the other hand, many women recommend having acrylic powder and nail extensions. It can be confusing about which of the procedures is best suited for you. Besides, dip powder and acrylic color powder sound similar and look the same.

Under such circumstances, it is challenging to identify the best option. This blog discusses whether dip nail acrylic powder and acrylic nails are the same. It also looks at the procedure of acquiring acrylic nails at home.
Are Dip Powder and Acrylic the Same?
No, they are not. Dip powder and acrylic look similar and have many similar properties, but they are not the same. The procedure of having a dip nail acrylic powder manicure and acrylic nails is also different. We shall discuss the nail acrylic extensions in this blog.
Can You Have Acrylic Nails at Home?
Many women recommend visiting a nail salon for a nail acrylic extension. As the process requires sticking an extension to the nail surface using a specific glue, many people are not comfortable having it at home. However, the process is easy to master. You can practice well and learn how to have the best acrylic nails at home.
How Do You Acquire Acrylic Nails?
Here is a step-by-step procedure of how to acquire acrylic nails at home. You can see that the procedure is one of the simplest to learn.
Purchase Your Acrylic Color Powder Kit
When purchasing an acrylic nail kit, it is better to look for EMA (Ethyl Methacrylate) instead of MMA (Methyl Methacrylate). EMA is more flexible than MMA and is a safer alternative. Ensure that your nail acrylic kit contains nail clippers, coarse nail files, acrylic nail tips, nail tip glue, acrylic nail dehydrator, acrylic nail primer, acrylic liquid monomer, acrylic color powder, and brush/bowl for mixing.
Prepare Your Nails Thoroughly for the Job
Prepping your nails involves removing the old traces of nail polish using nail polish removers or acetone. It is also essential to push your cuticles into the grooves. Many women make the mistake of cutting their cuticles. However, it is not necessary to do so. Instead, you can gently push the cuticles into their grooves using a cuticle pusher. Finally, you should buff your nails to make it easy for the nail acrylic tips to have a grip on your nails.
Select the Right Size and Apply Your Acrylic Nails Using Acrylic Nail Glue
You have an extensive range of acrylic tip sizes to choose from. You should size up your nail acrylic tip for your fingers and use acrylic glue to fix them on your nails. The ideal method is to cut your nails short and ensure that the bottom end of the acrylic tip is around one-third of the way down. It helps to remain sturdy as the nail grows out naturally. Next, apply a dot of acrylic glue and press the nail acrylic tip for about 10 seconds to ensure it remains secure. You can proceed similarly for all your ten fingernails.
Shaping Your New Acrylic Nail Is Crucial
Shaping your nail acrylic tips ensures that they do not have any sharp edges that can damage the nail. Use the nail file provided with your nail acrylic kit to file the tip and get the desired shape. Applying a dehydrating nail primer ensures to remove the moisture and help the acrylic color powder to stick better to your nails and tips.
Use the Acrylic Mixture to Coat Your Nails
Dip the acrylic brush into the bowl containing the monomer. Tap out the excess monomer and dip the brush into the acrylic color powder to get the perfect bead of acrylic on the brush. Apply the mixture on your nail by starting above the cuticles and extending it right up to the nail tip. Repeat the procedure for each nail.
Dry Your Acrylic
Finally, you have to dry the acrylic tip using a fan. There is no need to use UV lamps for curing acrylic color powder. It should not take more than 10/15 minutes for the acrylic to dry completely. Then, you can proceed with providing the right shape. Finally, you can tap the nails to get a clicking sound. It indicates that the polish is dry, and you are ready to go.
Conclusion
The acrylic powder process is different from the acrylic powder color. We shall discuss the dipping powder procedure in one of our future blogs. Though the powder looks the same, the procedure of acquiring dipping powder nails is different. We shall also look at the procedure of removing acrylic nails and dipping powder in a separate blog.